Free course recommendation: Master JavaScript animation with GSAP through 34 free video lessons, step-by-step projects, and hands-on demos. Enroll now →
Having objects appear on scroll is almost standard nowadays. However, there aren’t too many options available when it comes to HTML. Therefore, I decided to add a dash of excitement with some WebGL effects!
Starting with a Plane
Let’s examine a simple PlaneGeometry object with a ShaderMaterial. What possibilities does this combination offer?

Well, actually a lot of things! You can check out the tutorial on unrolling images for another interesting effect.
But this time I wanted to explore pixelated effects. So how do you achieve pixillation in shaders?
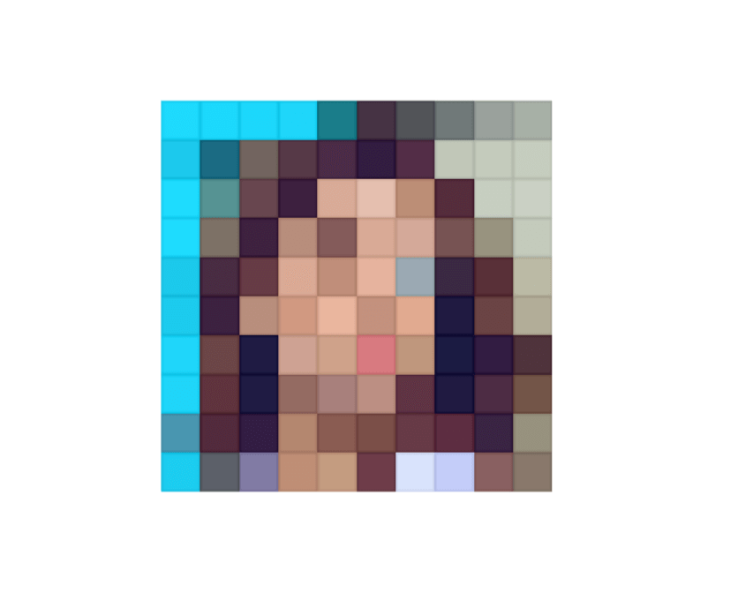
It’s actually quite simple. You just have to round the UVs to the nearest pixel. And that’s it! You have a pixelated effect. Let’s say we want a 10 “pixel” grid:
vec2 uv = floor(vUv * 10.0) / 10.0;
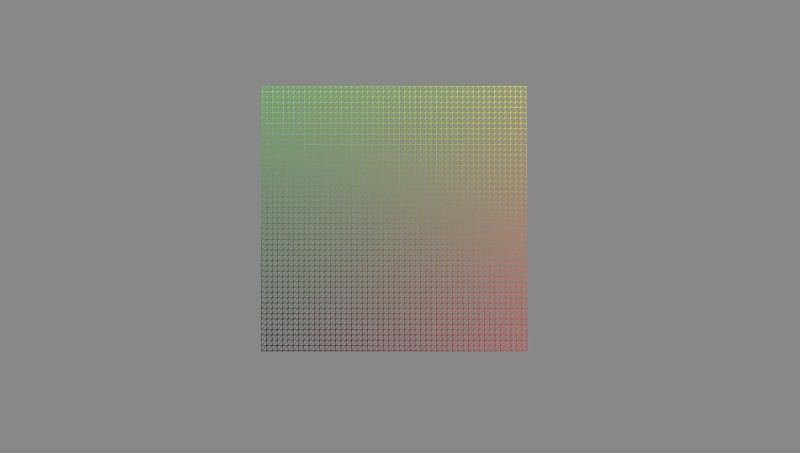
These are UVs, but by sampling the texture with them you will get this effect:

Just to underline the effect a bit, I have also added borders to each pixel:

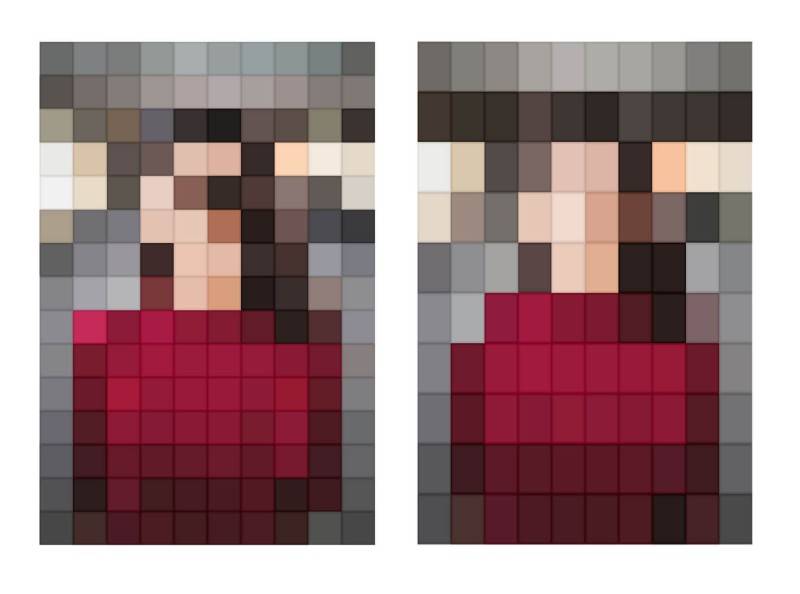
Another small caveat is that if the image is not a square, you will get an equal amount of rows and columns, hence the pixels won’t be squares anymore, either. To work around that, instead of multiplying UVs with a scalar value, we can do that with vec2:
vec2 gridSize = vec2(
    20.,
    floor(20./ASPECT_RATIO)
);
vec2 uv = floor(vUv * gridSize) / gridSize;
This way we will have square pixels (roughly), but also an integer amount of them in rows and columns! On top of it I added a couple of more simple effects, like a background curtain and a changing amount of pixillation. Here is the nice result:
Doing things on scroll
There is a number of ways to connect HTML and our new effect. The simplest one nowadays would be to use React Three Fiber.
R3F has an amazing library of helpful modules thanks to the Poimandres team. The library name is Drei and it has a <View /> component there.
The idea of this component is to be able to insert parts of your 3D scene right into your DOM. Which, yes, is basically magic (the one indistinguishable from super advanced science 😅)
This example is right from the docs:
//react code
return (
    <main ref={container}>
        <h1>Html content here</h1>
        <!-- here we go, MESH in HTML, just like that -->
        <View style={{ width: 200, height: 200 }} className="canvas-view">
            <mesh geometry={foo} />
            <OrbitControls />
        </View>
        <Canvas eventSource={container}>
        <View.Port /> // this is where our Views will be in 3D world
        </Canvas>
    </main>
    )
As you can see, we can just put our Three.js objects right into our HTML. And, as a bonus, we can use native HTML events to control them. This is a huge step forward in terms of integration of these two worlds.
So for my demo I was able to use the native IntersectionObserver API to run all the animations in WebGL!
useGSAP
Recently, GSAP released a nice hook for React, so I decided to use it as well. Having the isIntersecting parameter from the native IntersectionObserver API, I just did this:
import { useGSAP } from "@gsap/react";
import gsap from "gsap";
...
useGSAP(() => {
      gsap.to(material, {
        uProgress: isIntersecting ? 1 : 0,
        duration: 1.5,
      });
}, [isIntersecting]);
This way the animation runs each time an image pops into view.
It could be much more complicated of course, but in my case I only used the “uProgress” uniform, and did all the magic inside shaders. To learn more about and GSAP/React integration head over to official docs.
Scroll sync between HTML and WebGL
The last annoying bit is a synchronisation issue between WebGL and HTML. Because those are still two different layers. All the WebGL is being rendered in a fullscreen canvas on top of your page. These two worlds have to scroll together. And if you decide to use native scroll which is, well, natural, you will have a situation when HTML scrolls natively, and WebGL scrolls when it gets the scroll event.
While you might imagine these to be the same thing, there will be a slight delay and jiggering between layers:
To overcome this, you should use a custom scroll solution. Like Lenis or Locomotive scroll. In my case I used Lenis, as a global effect inside React Three Fiber:
import { addEffect } from "@react-three/fiber";
import Lenis from "@studio-freight/lenis";

const lenis = new Lenis();
addEffect((t) => lenis.raf(t));
So, now once our <View /> is inside the viewport, I will just change my material uniform uProgress from 0 to 1. And that’s it! I have a shader animation in HTML.
Another important thing to note here, is that even though declaratively we have HTML and WebGL mixed up in this wonderful cocktail, they are two separate worlds, and, for example, usual React Three Fiber hooks, will not work with <View /> components.
function MyView(){
    const { scene } = useThree()
    >>R3F: Hooks can only be used within the Canvas component!
    return (
        <View style={{ width: 200, height: 200 }} className="canvas-view">
            <mesh geometry={foo} />
            <OrbitControls />
        </View>
    )
}
Even though it is being inserted into the Three.js scene via <View.port>, it’s not really from the WebGL root. It all looks so simple, but you have to keep in mind, what is actually going on behind the scenes to understand these caveats.
But even taking these into account, you just cant underestimate how simple these things are becoming with React. I don’t really like using React for animated scrollable landings, but, when integration is that easy, I will have to think thrice.
Final Words
I hope you liked this integration example! Share your ways of animating images, or examples that you like! And support open source developers, thanks to them we have such amazing infrastructures nowadays 🙂


