
Ever since discovering them through The Book of Shaders, I have been captivated by the power of Signed Distance Functions (SDFs). These functions are highly efficient for rendering complex geometries and shapes, and for creating dynamic visual effects. They simplify necessary calculations for edge detection and shape manipulation, making them ideal for advanced graphic applications.
Although I will do my best to explain it further through application, I highly recommend checking out shapes part of The Book of Shaders and the excellent resources from Inigo Quilez to learn more about SDFs.
In this tutorial, we will learn how to leverage the power of SDFs by drawing a simple shape (a rounded rectangle) and explore how we can manipulate the properties and parameters of SDF functions to create a “Lens Blur” effect on interaction. This requires some knowledge of Three.js or any WebGL framework, as well as familiarity with GLSL shading language for writing shaders.
Setup
To begin, we’ll set up a basic WebGL scene using Three.js. This scene will include a plane, which will serve as our canvas where the shader and subsequent effects will be applied.
const scene = new THREE.Scene();

let width = window.innerWidth;
let height = window.innerHeight;

const aspect = width / height;
const camera = new THREE.OrthographicCamera(-aspect, aspect, 1, -1, 0.1, 1000);

const renderer = new THREE.WebGLRenderer();
document.body.appendChild(renderer.domElement);

const geo = new THREE.PlaneGeometry(1, 1);  // Scaled to cover full viewport
const mat = new THREE.ShaderMaterial({
  vertexShader: /* glsl */`
    varying vec2 v_texcoord;
    void main() {
        gl_Position = projectionMatrix * modelViewMatrix * vec4(position, 1.0);
        v_texcoord = uv;
    }`,
  fragmentShader: /* glsl */`
    varying vec2 v_texcoord;
    void main() {
        gl_FragColor = vec4(1.0, 0.0, 0.0, 1.0);
    }`
});
const quad = new THREE.Mesh(geo, mat);
scene.add(quad);

camera.position.z = 1;  // Set appropriately for orthographic

const animate = () => {
  requestAnimationFrame(animate);
  renderer.render(scene, camera);
};
animate();
Then we can start writing our fragment shader.
varying vec2 v_texcoord;
void main() {
    vec2 st = v_texcoord;
    vec3 color = vec3(st.x, st.y, 1.0);
    gl_FragColor = vec4(color.rgb, 1.0);
}
Draw shape with SDF function
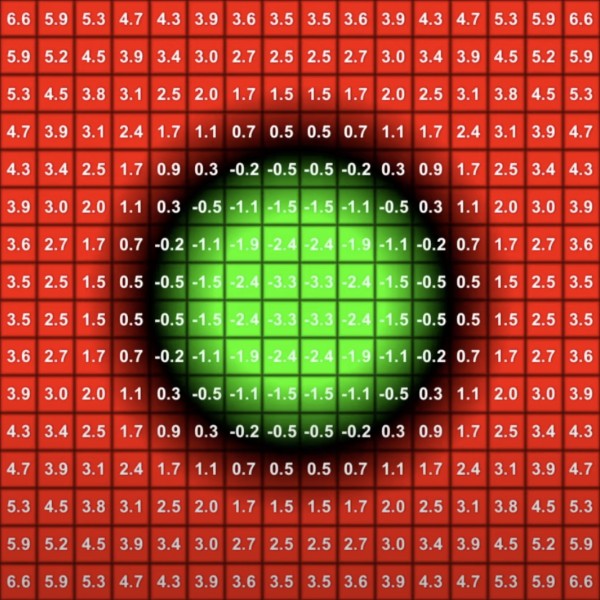
At its core, SDF is based on the concept of calculating the shortest distance from any point in space to the surface of a shape. The value returned by an SDF is positive if the point is outside the shape, negative if inside, and zero exactly on the surface.
Here is how we define an SDF function for a rounded rectangle, adapted from Inigo Quilez’s methods found on his distance functions tutorials:
/* sdf function for round rectangle */
float sdRoundRect(vec2 p, vec2 b, float r) {
  vec2 d = abs(p - 0.5) * 4.2 - b + vec2(r);
  return min(max(d.x, d.y), 0.0) + length(max(d, 0.0)) - r;
}
void main() {
    vec2 st = v_texcoord;
    float roundness = 0.4;
    float sdf = sdRoundRect(st, vec2(size), roundness);;
    vec3 color = vec3(sdf);
    gl_FragColor = vec4(color.rgb, 1.0);
}`

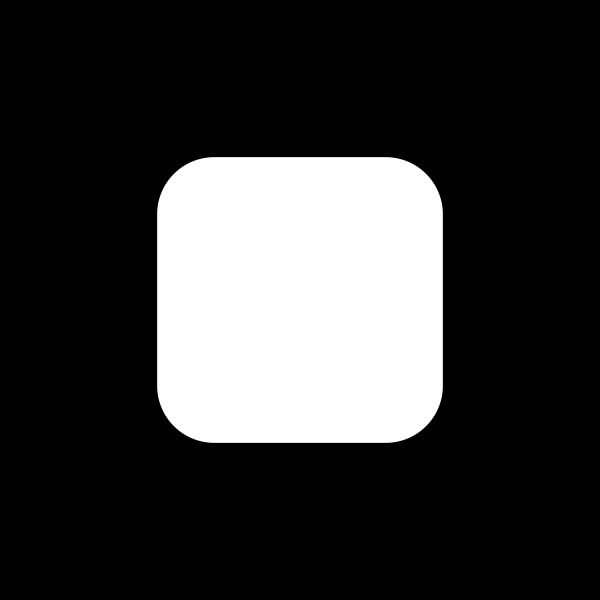
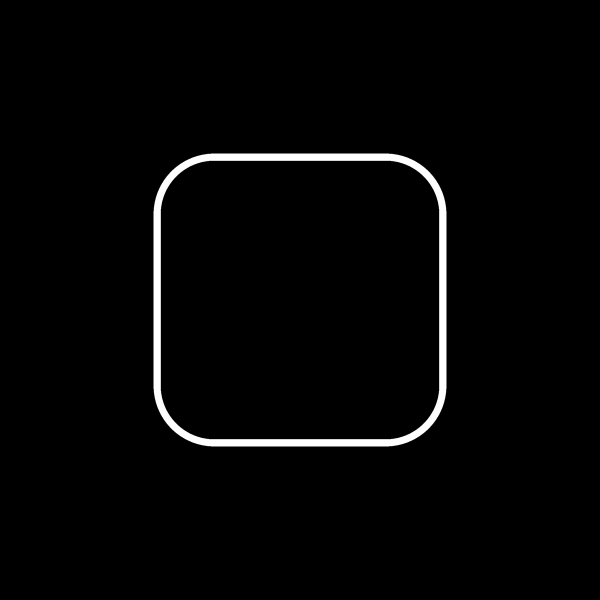
With the rounded rectangle SDF defined, we can now manipulate its appearance by applying stroke or fill effects based on the distance values returned by the SDF:
varying vec2 v_texcoord;

float sdRoundRect(vec2 p, vec2 b, float r) {
  vec2 d = abs(p - 0.5) * 4.2 - b + vec2(r);
  return min(max(d.x, d.y), 0.0) + length(max(d, 0.0)) - r;
}

/* Signed distance drawing methods from lygia shader library:
- https://lygia.xyz/draw/fill
- https://lygia.xyz/draw/stroke
 */
float stroke(float x, float size, float w, float edge) {
    float d = smoothstep(size - edge, size + edge, x + w * 0.5) - smoothstep(size - edge, size + edge, x - w * 0.5);
    return clamp(d, 0.0, 1.0);
}
float fill(float x, float size, float edge) {
    return 1.0 - smoothstep(size - edge, size + edge, x);
}

void main() {
    vec2 st = v_texcoord;

    /* sdf Round Rect params */
    float size = 1.0;
    float roundness = 0.4;
    float borderSize = 0.05;

    float sdf = sdRoundRect(st, vec2(size), roundness);
    sdf = stroke(sdf, 0.0, borderSize, 0.0);

    vec3 color = vec3(sdf);
    gl_FragColor = vec4(color.rgb, 1.0);
}`

This enables dynamic interaction, such as adjusting the fill level of the shape in response to mouse movement. Through these steps, you will see how manipulating the ‘cut-off’ distance of the SDF can alter the visual output to create our effect.
Bringing Interactivity
To make our SDF drawing interactive, we pass the normalized mouse position into the shader. By calculating the distance between the mouse coordinates and the position within the shader, we can dynamically adjust the fill parameters of the SDF drawing. The goal is that as the mouse moves further away, the shape becomes less sharp, revealing more of the distinct gradient characteristic of the SDF:
const vMouse = new THREE.Vector2();

/* store mouse coordinates */
document.addEventListener('mousemove', (e) => vMouse.set(e.pageX, e.pageY));

/* add uniforms in the shader */
uniforms: {
  u_mouse: { value: vMouse },
  u_resolution: { value: vResolution }
}
Just as we drew our SDF rectangle, we can similarly introduce a SDF circle, using the mouse coordinates within our shader to dynamically influence its position:
varying vec2 v_texcoord;
uniform vec2 u_mouse;
uniform vec2 u_resolution;
uniform float u_pixelRatio;

float sdCircle(in vec2 st, in vec2 center) {
  return length(st - center) * 2.0;
}
float fill(float x, float size, float edge) {
    return 1.0 - smoothstep(size - edge, size + edge, x);
}
void main() {
    vec2 st = v_texcoord;
    vec2 pixel = 1.0 / u_resolution.xy * u_pixelRatio;
    vec2 posMouse = vec2(1., 1.) - u_mouse * pixel;

    float circleSize = 0.3;
    float circleEdge = 0.5;
    float sdfCircle = fill(
        sdCircle(st, posMouse),
        circleSize,
        circleEdge
    );

    float sdf = sdfCircle;
    vec3 color = vec3(sdf);
    gl_FragColor = vec4(color.rgb, 1.0);
}By combining the results of the SDF circle with the parameters of the border, we achieve our final visual effect:
/* sdf round rectangle with stroke params adjusted by sdf circle */
float sdf;
sdf = sdRoundRect(st, vec2(size), roundness);
sdf = stroke(sdf, 0.0, borderSize, sdfCircle) * 4.0;

vec3 color = vec3(sdf);
gl_FragColor = vec4(color.rgb, 1.0);Different shapes and beyond
Using the same principles applied in our initial examples, this technique can be extended to virtually any shape, offering limitless possibilities with SDFs. I again recommend revisiting Inigo Quilez’s articles for a variety of shapes that can be easily implemented. Additionally, these can be creatively applied to icons or text, further expanding the possibilities.


Check out some different variations in the demo.


